Mosaics and Lino Printing

We spent Saturday 7th November making Christmas Mosaics in the morning, and then printing our own Christmas cards using Lino Printing in the afternoon.  Fabulous results from both workshops.  I'm really pleased with my cards, I'm just not sure that I can bear to part with them now!

Mosaic making in action.  There are so many lovely tiles to choose from!

Mosaic making in action.  There are so many lovely tiles to choose from!

One of the finished mosaics

One of the finished mosaics

So many creative results from the Lino Printing!

So many creative results from the Lino Printing!

More Lino Printing, drying before it was taken home.

More Lino Printing, drying before it was taken home.

Zentangle workshop

It was our first Zentangle workshop today, run by Rachel, a qualified CZT practitioner.  Zentangle is a way of producing a beautiful piece of artwork using a structured method, so that even if you think that you aren't arty, you still get fantastic results.  It's closely related to mindfulness and adult colouring, as you have to concentrate deeply whilst doing it which instills a deep sense of calm in you.

At the beginning of the session everyone said that they thought they were not arty, and yet by the end of the session everyone had produce a unique tangle (as the finished pieces of art are called).  You could go on to colour them in, but I think they're very striking when left as black and white.

The finished tangles - all produced following the same method, but all very different

The finished tangles - all produced following the same method, but all very different

The workshop in action - very tranquil!

The workshop in action - very tranquil!

Get to Know Your Sewing Machine workshop

It was the Get to Know Your Sewing Machine workshop yesterday morning.  We keep this workshop to a maximum of 4 people so that everyone gets individual attention, and because no two sewing machines are the same!  After familiarising everyone with their machine, we aim to ensure everyone makes something during the workshop, and yesterday it was a cushion - see the really pretty results below.

A finished cushion!

A finished cushion!

Patchwork Cushion

It was the first Make a Patchwork Cushion workshop this morning.  Janet, the tutor, had pre-cut the fabric and provided step-by-step instructions.  She was then able to help each participant with the techniques they needed to construct their cushion cover.   The results looked fantastic!

Two finished cushion covers...

Two finished cushion covers...

Another finished cushion cover...

Another finished cushion cover...

And another!

And another!

Concentrating piecing the pieces together

Concentrating piecing the pieces together

Pressing the front of the cover

Pressing the front of the cover

Stampin'Up demo

I hosted a Stampin' Up demonstration this weekend in the studio.  The demonstrator, Pip, had contacted me to see if I was interested in her running some card making workshops, but as I didn't know what the level of interest was likely to be, we agreed to run a demonstration first.  We saw the Project Life scrapbooking system first, then Pip demonstrated a number of ways to make cards using stamps, inks and embellishments.  We all made two cards - I was very pleased with mine (photos below) although almost too nice to send!  The group seemed interested in future card making workshops so I will look to run some, probably one per term.

My two cards

My two cards


Lampshade making workshop

The first lampshade making workshop took place on last Saturday, and the results were fantastic!  We were using 30cm kits, but under the expert guidance of our tutor, we learnt all sort of hints and tips.  Although the kits came with their own instructions, there were a number of places where our tutor recommended a different approach in order to get better results.  This workshop was meant to be 1.5 hours as we'd thought that we'd easily finish in that time, but in fact we overran and it took us just over 2 hours so future workshops will last for either 2 hours or 2 and a quarter hours (to allow time for coffee & cake!).  


The results of the lampshade making workshop

The results of the lampshade making workshop

Lampshade making in progress

Lampshade making in progress

Change to crochet workshops

Based on feedback from previous attendees to beginner crochet workshops, I've decided to offer the option of extending the half day workshop to a full day, so that you can carry on after lunch and practice making more granny squares under the watchful eye of the tutor!  The extra time will also give us the opportunity to show you how to make different granny shapes (hexagons, triangles for bunting), and for those who are picking it up quickly, we can move onto edging the squares and/or making granny stripe blankets.  The next dates where there's the option to extend are the crochet workshops in May and June

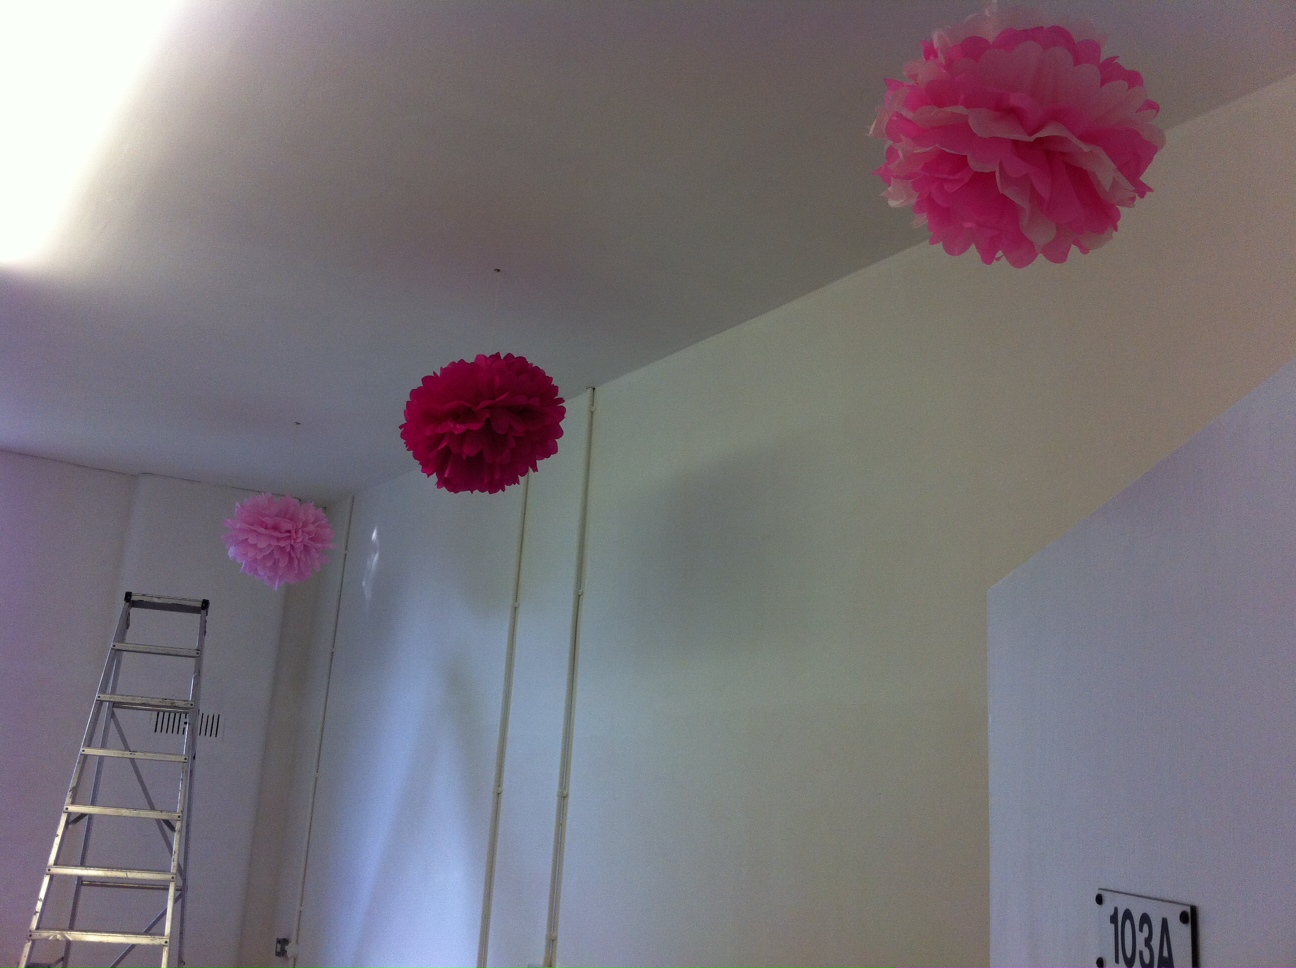
Tissue paper pom poms

I've followed the Martha Stewart instructions for making tissue paper pom poms as I wanted something bright and cheerful to hang in my studio.  They were surprisingly easy to make and look really effective - they've been much admired by visitors to the studio!

Here are step by step instructions (picture of each step are at the bottom of this post):

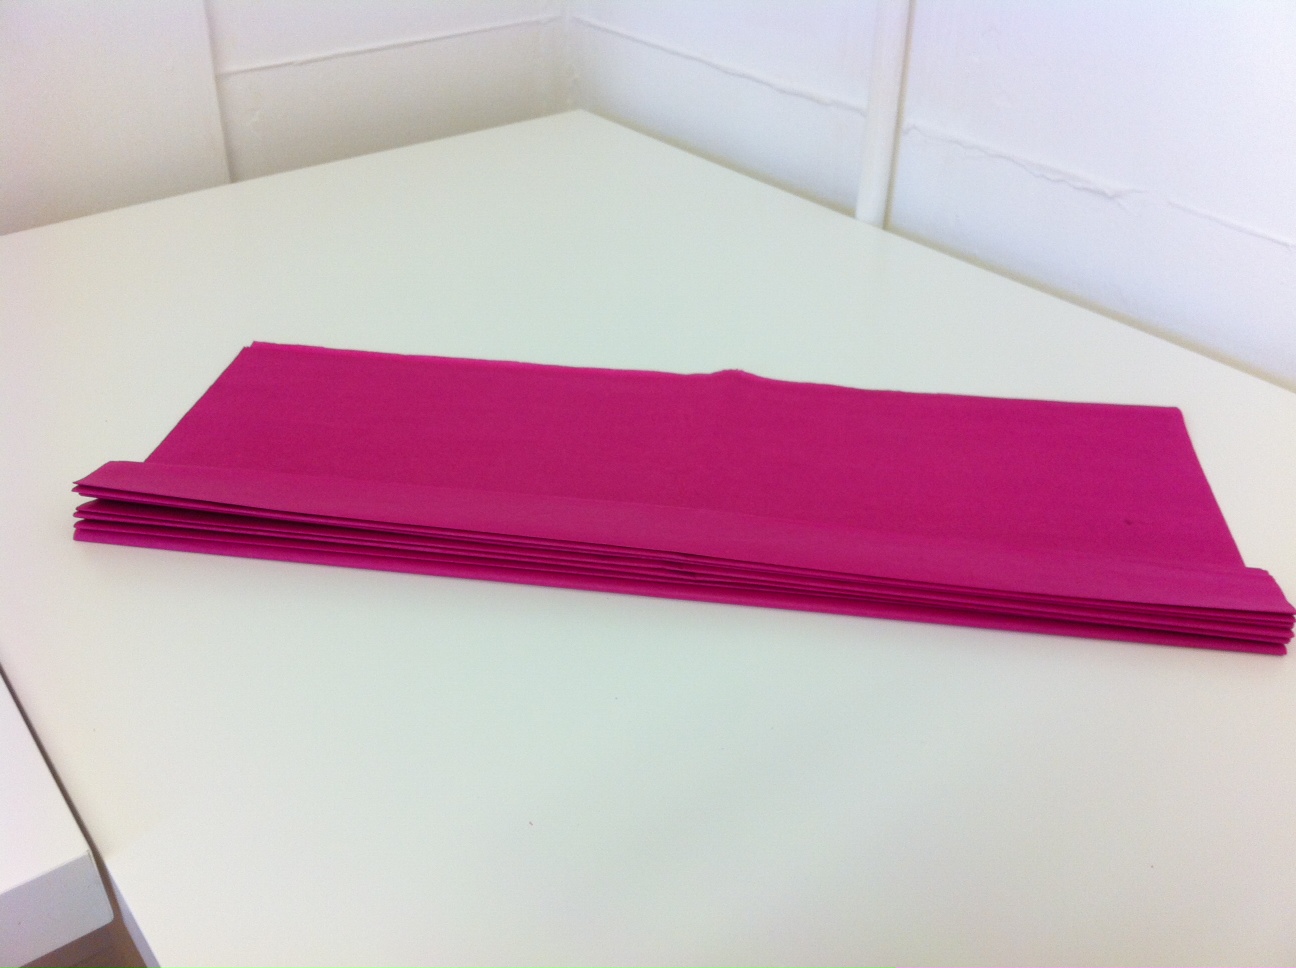
1. Take a stack of 8 sheets of 75cm x 50cm tissue paper and fold into concertina folds (like the paper fans you made when you were a kid).  Each fold should be approx 4cm in width.

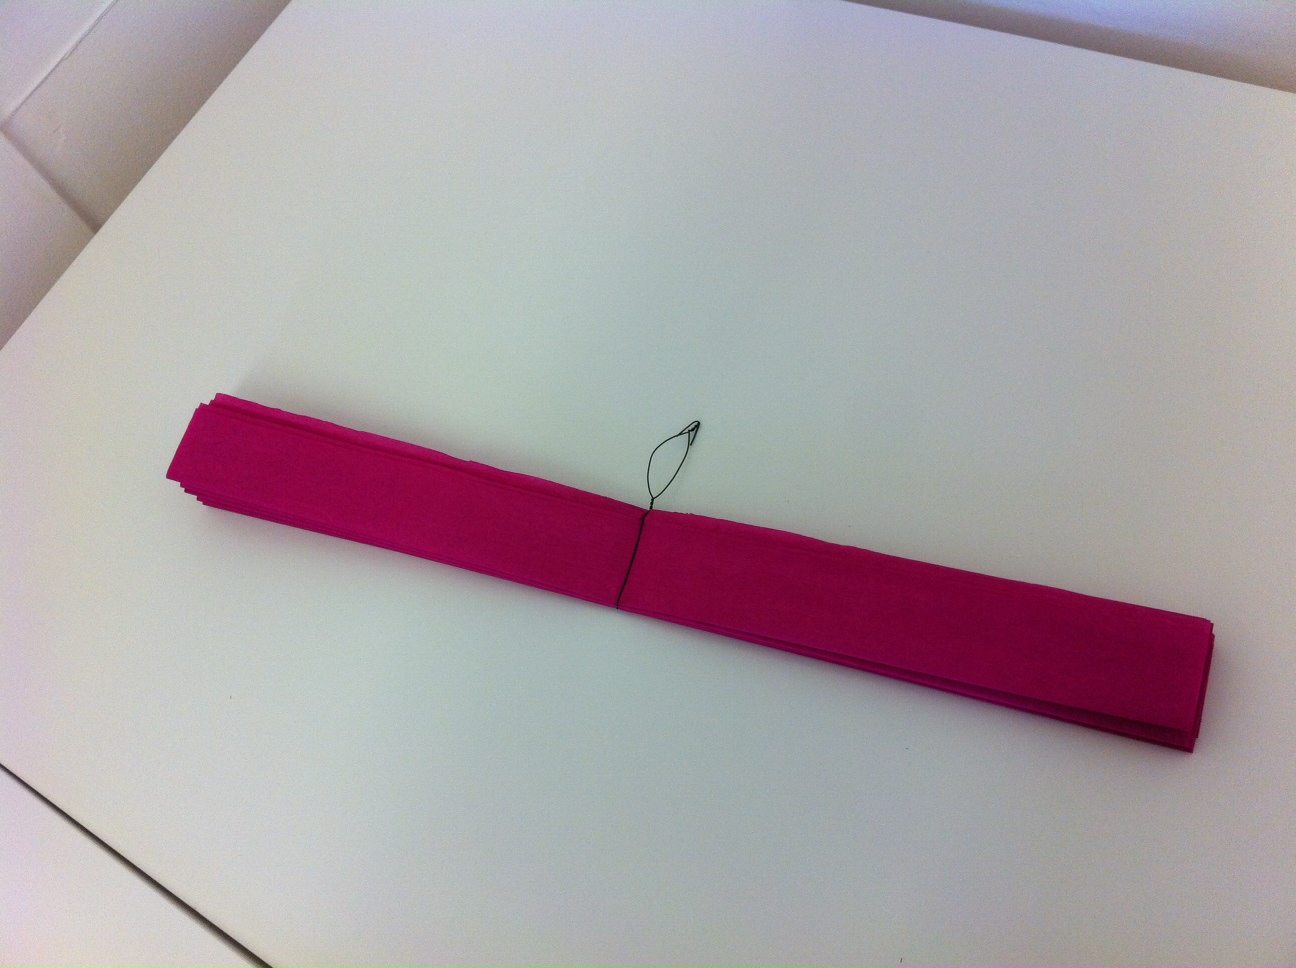
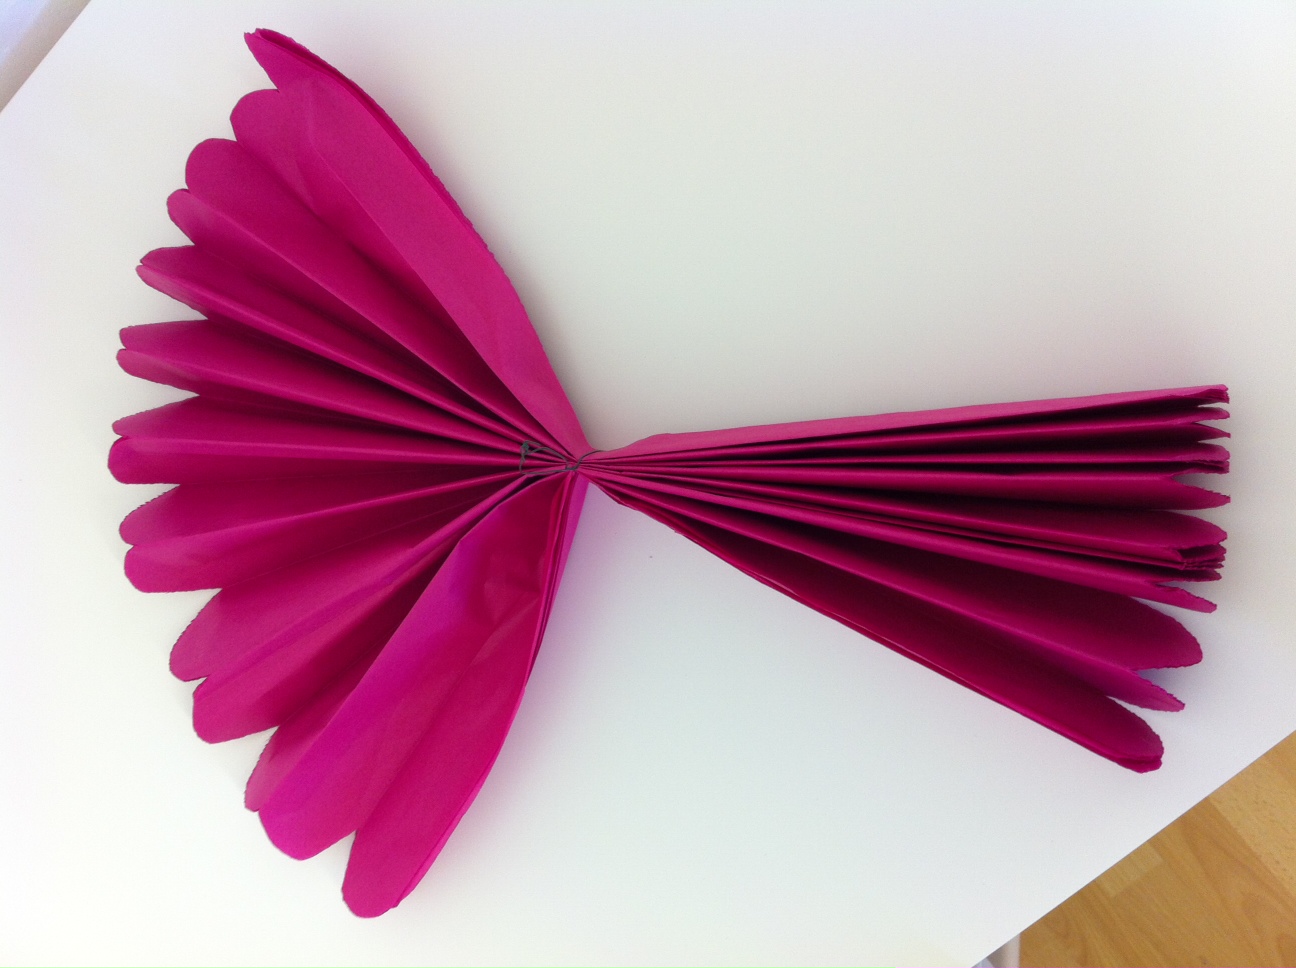
2. When it's all folded, use a piece of wire (I used floral wire from Hobbycraft) to fold round the middle.  Twist the wire to hold the folds of tissue paper tightly in place, and make a hanging loop.

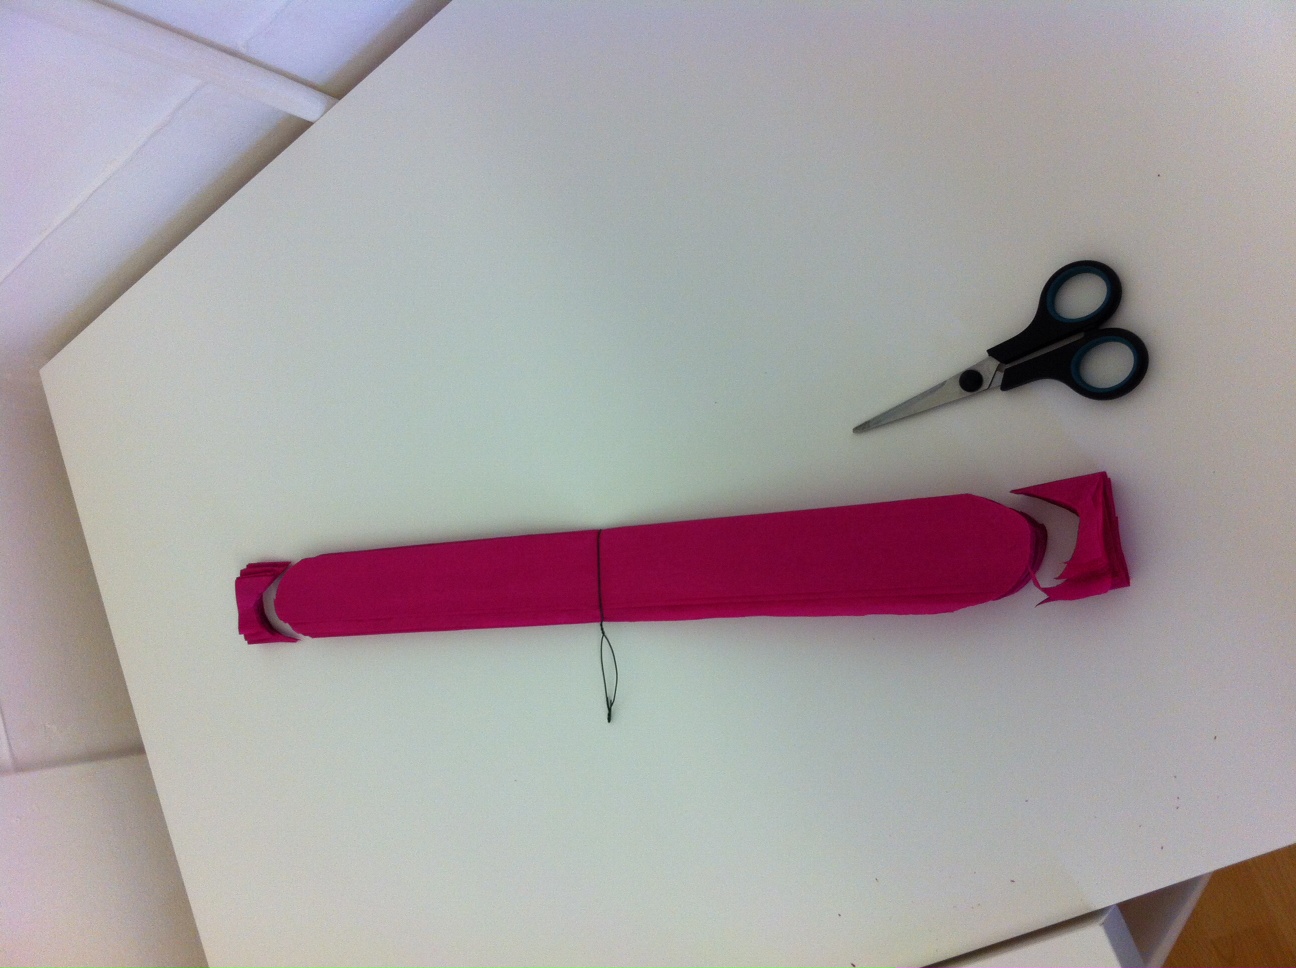
3. Cut the ends of the folds into curves.

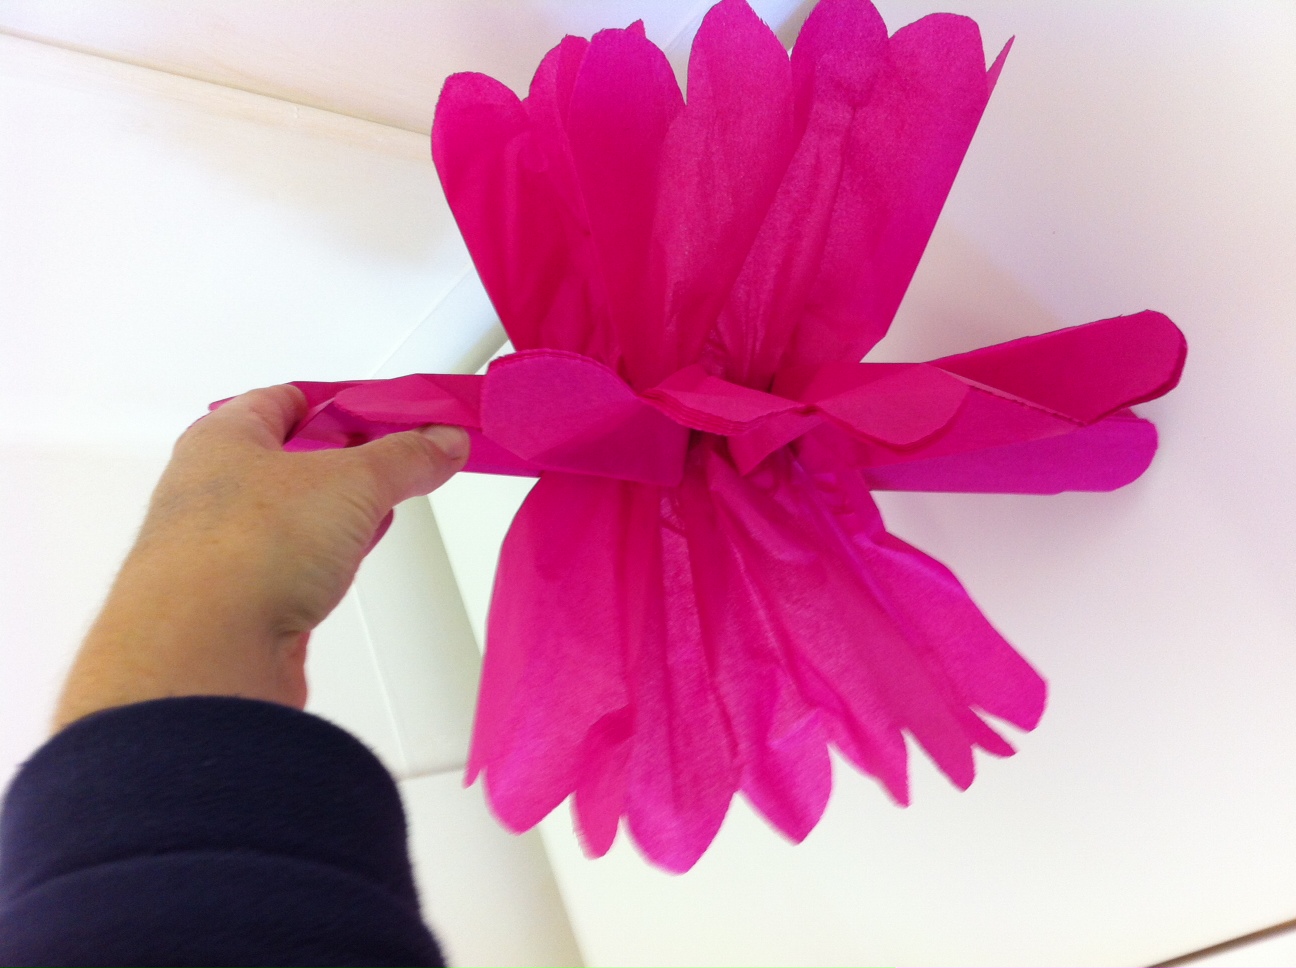
4.  Start on one side of the fan: open out the tissue paper into a fan shape and then separate each piece of tissue paper away from the fan.  Repeat for the other side of the fan.

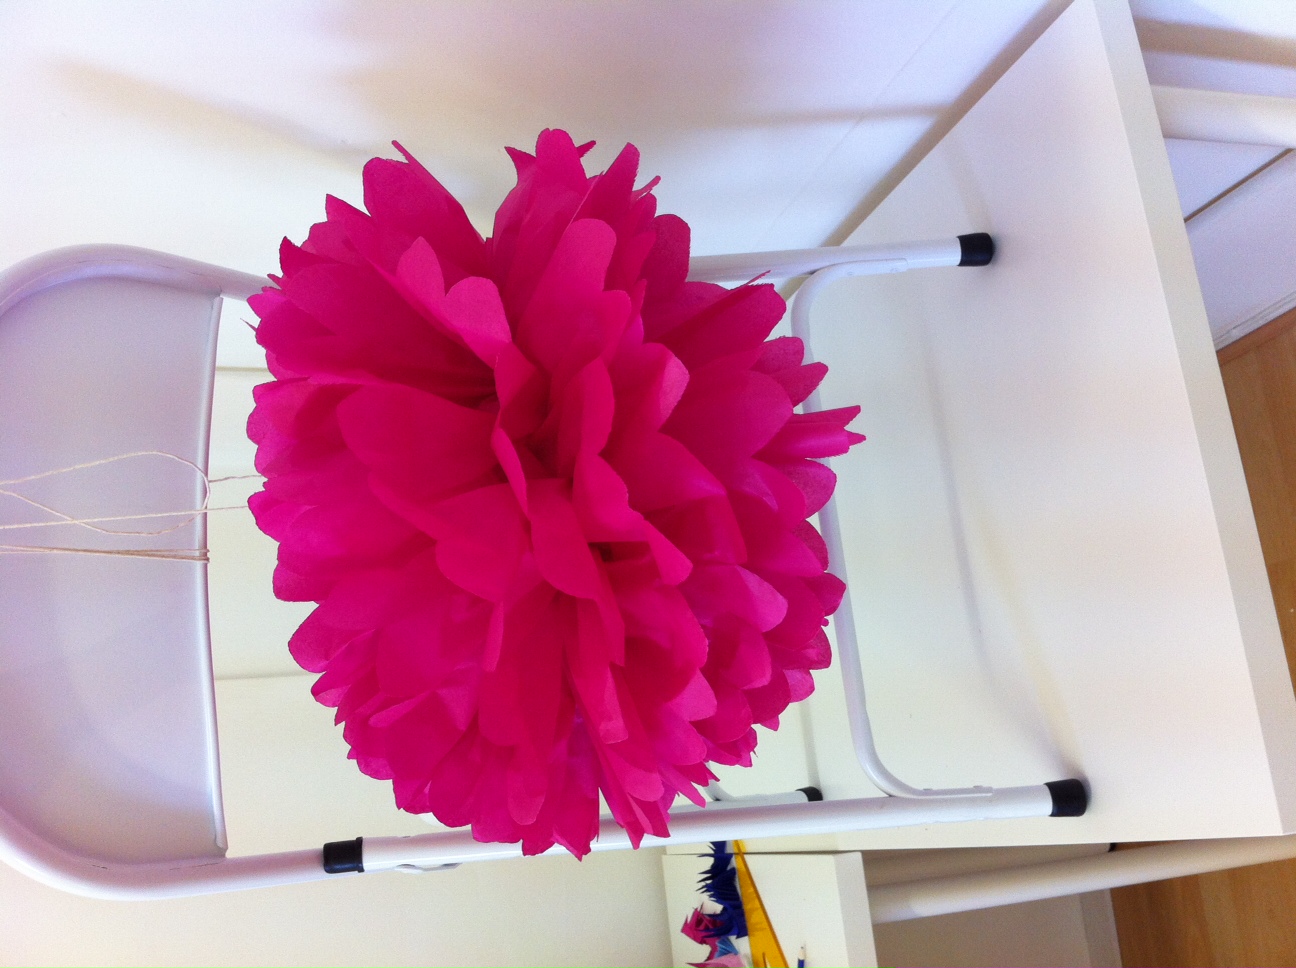
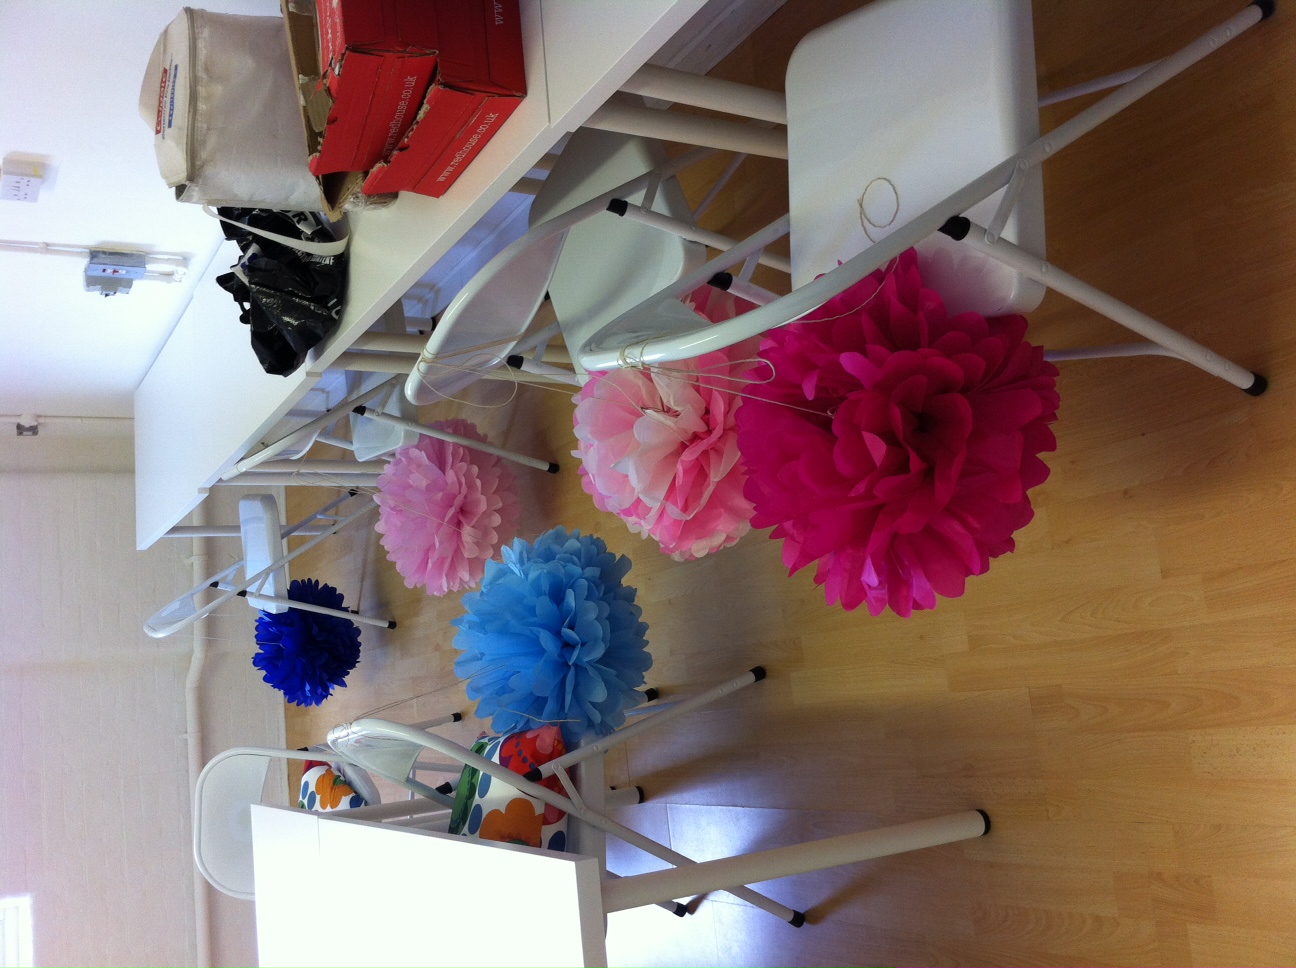
5.  The finished item!  I used string to hang it from the ceiling but fishing line would be better as it's transparent.  I went on to make pom poms in other colours, and one 2-colour pom pom as well.

Pictures of each step are below, click to move through.